
Table of Contents
- Absolutely! Make Nut-Free Rice Krispie Squares
- How This Nut-Free Rice Krispie Treat Recipe Works
- Ingredients and Smart Substitutions for Nut-Free Squares
- Step-by-Step Instructions: Your Nut-Free Guide
- Expert Tips for Perfect Nut-Free Rice Krispie Squares
- What to Serve With Nut-Free Rice Krispie Squares
- Storing and Reheating Your Nut-Free Treats
- FAQs About Nut-Free Rice Krispie Squares
There’s something truly magical about the combination of crispy cereal, gooey marshmallows, and a hint of butter. Rice Krispie Squares are a classic for a reason – that satisfying crunch followed by an irresistible chewiness is pure comfort! But for those managing nut allergies, the joy of these simple treats often comes with a nagging question: are rice krispie squares nut free? Today, I’m thrilled to tell you, with absolute confidence, that yes, they can be a completely safe and utterly delicious nut-free delight! See more easy recipes that cater to various dietary needs and preferences right here.
Absolutely! Make Nut-Free Rice Krispie Squares
A Personal Commitment to Safe Treats
As someone who believes everyone deserves to enjoy delicious homemade treats, I understand the anxiety that comes with food allergies. There’s nothing more heartbreaking than seeing someone miss out on a simple pleasure due to concerns about allergens. This deep commitment is why I’ve meticulously crafted and tested this recipe to ensure it’s not just incredibly tasty, but also genuinely safe for those avoiding nuts. It’s about more than just a recipe; it’s about peace of mind and inclusive enjoyment.
Why This Recipe Works for Nut Allergies
This recipe focuses on scrutinizing every single ingredient, from the main cereal to the most minor flavoring, to ensure no hidden nut allergens sneak into your squares. We’ll dive deep into brand specifics, cross-contamination risks, and smart substitutions, making this your ultimate guide to truly nut-free Rice Krispie Squares.
How This Nut-Free Rice Krispie Treat Recipe Works
- Perfectly Crispy Texture: Our method ensures every grain of cereal remains distinct and crunchy, resisting the common pitfall of soggy squares.
- Irresistibly Chewy Marshmallow Blend: We use the precise ratio and melting technique for a marshmallow mixture that stays perfectly soft and elastic, never too hard or clumpy.
- Lightning-Fast Preparation: From start to finish, these delectable squares come together in under 15 minutes, making them ideal for last-minute cravings or unexpected guests.
- One-Pot Wonder: Everything comes together in a single large pot, minimizing cleanup and maximizing your enjoyment!
Ingredients and Smart Substitutions for Nut-Free Squares
Here is what you need and why, with crucial allergy considerations:
Rice Krispies Cereal: Check for Cross-Contamination: While traditional Kellogg’s Rice Krispies are generally considered nut-free by composition, the manufacturing facility can be a concern. Always, always check the packaging for allergen statements such as “may contain nuts” or “processed in a facility with nuts.” Brands like Kellogg’s often have clear allergen labeling on their official websites or directly on the box. For ultimate safety, look for brands specifically certified nut-free if available in your region, or those with very strong allergen control statements.
Unsalted Butter (or Dairy-Free Margarine for Ensuring Nut-Free Spread): Butter is key for flavor and richness. I recommend unsalted butter so you can control the salt content yourself. For dairy allergies or sensitivities (which sometimes co-occur with nut allergies), a good quality dairy-free margarine like Earth Balance (check label for nut-free claims) works wonderfully. Ensure your chosen margarine is also certified or explicitly states it’s nut-free.
Marshmallows: Which Brands are Nut-Safe?: This is another critical ingredient. Most gelatin-based marshmallows are inherently nut-free, but manufacturing practices vary. Brands like Jet-Puffed (Kraft Heinz) are often considered safe by many in the nut-allergy community, but again, always double-check the most current packaging for allergen statements. Avoid gourmet marshmallows that might contain nut flours or be produced in shared facilities.
Pure Vanilla Extract vs. Imitation (Allergen Check): Pure vanilla extract is typically alcohol-based and nut-free. However, some imitation vanilla products may contain unexpected ingredients or be manufactured in facilities that process nuts. To be safe, opt for a pure vanilla extract from a reputable brand and, yes, check the label. It adds that lovely depth of flavor!
Salt: Enhancing Flavor: Just a pinch of fine sea salt makes a huge difference, balancing the sweetness of the marshmallows and butter and truly elevating the flavor profile. Don’t skip it!
Step-by-Step Instructions: Your Nut-Free Guide
Follow these step-by-step photos:
1. Prepare Your Pan & Cereal
Grease a 9×13-inch baking pan with butter or cooking spray. Measure out your 6 cups of nut-free Rice Krispies cereal into a large heat-proof bowl. This ensures that once your marshmallow mixture is ready, you can quickly combine them without delay, which is crucial for preventing the squares from becoming too hard.
2. Melt Butter and Marshmallows
In a large saucepan or Dutch oven, melt 4 tablespoons of unsalted butter (or dairy-free margarine) over low heat. Once melted, add one 10-ounce bag of nut-safe marshmallows. Continue melting over low heat, stirring constantly with a rubber spatula, until the marshmallows are completely smooth and gooey. Be patient and keep the heat low to avoid scorching the marshmallows, which can lead to a harder final product. This stage also helps to activate the perfect chewiness.
3. Stir in Vanilla and Salt
Once the marshmallows are fully melted and smooth, remove the pan from the heat. Stir in 1 teaspoon of pure vanilla extract and 1/4 teaspoon of fine sea salt. Mix thoroughly until these are fully incorporated into the marshmallow mixture. The vanilla adds aromatic depth, and the salt is a flavor enhancer that balances the sweetness beautifully.
4. Fold in Cereal
Quickly pour the measured Rice Krispies cereal into the marshmallow mixture. Using your rubber spatula, gently fold the cereal into the marshmallow until it is evenly coated. Work quickly but gently. The goal is to coat every crisp without crushing them, preserving their delightful crunch.
5. Press and Set
Immediately transfer the mixture into your prepared 9×13-inch baking pan. Using a piece of waxed paper, parchment paper, or a lightly buttered spatula, gently press the mixture evenly into the pan. Do NOT over-compress the squares, as this will make them hard. Simply press enough to form an even layer. Let them cool completely at room temperature for at least 1-2 hours before cutting into squares.
Expert Tips for Perfect Nut-Free Rice Krispie Squares
- Avoid Over-Compressing for Best Texture: The number one secret to soft, chewy Rice Krispie Squares is to press them into the pan gently. Over-compacting them with too much force will squeeze out all the air and result in dense, hard squares. A light touch is key!
- Use Fresh Marshmallows: Stale marshmallows can be harder to melt and might result in a less smooth mixture. Always use fresh, soft marshmallows for the best gooey texture.
- Evenly Coat Cereal: Ensure every single Rice Krispie is coated with the marshmallow mixture. This creates a consistent texture and flavor throughout your squares. Work quickly once the cereal is added, but be thorough.
- Low Heat is Your Friend: Always melt butter and marshmallows over low heat. High heat can burn the marshmallows, leading to a hard, brittle, and slightly off-tasting final product.
- A Touch of Extra Butter: If your mixture seems a little stiff or hard to work with, a tiny bit of extra melted butter (half a tablespoon) stirred in at the end can help achieve a more pliable, gooey consistency.
What to Serve With Nut-Free Rice Krispie Squares
Milk or Dairy-Free Alternative
A classic pairing! A cold glass of milk (or your favorite nut-free dairy alternative like oat milk or soy milk) perfectly complements the sweet and chewy squares. It’s a comforting combination that takes you right back to childhood.
Fresh Fruit Salad
For a lighter contrast, serve your nut-free Rice Krispie Squares alongside a refreshing bowl of fresh fruit salad. The natural sweetness and juiciness of berries, melon, or grapes offer a lovely counterpoint to the richness of the squares and add a healthy balance to snack time.
Storing and Reheating Your Nut-Free Treats
Airtight Container for Freshness
The key to keeping your Rice Krispie Squares soft and fresh is proper storage. Once completely cooled, store them in an airtight container at room temperature. This prevents them from drying out and maintains their perfect chewy texture.
Room Temperature Storage
Rice Krispie Squares are best enjoyed at room temperature. Storing them in the refrigerator can make them hard and brittle, diminishing their signature chewiness. They’re designed to be a grab-and-go treat!
Avoid Refrigeration for Optimal Texture
Seriously, resist the urge to refrigerate these! If they do get a bit hard from sitting out or if you accidentally chilled them, you can try microwaving a single square for 5-10 seconds. This can soften the marshmallows and bring back some of their chew, but be careful not to overheat and melt them completely.
FAQs About Nut-Free Rice Krispie Squares
Are all Rice Krispies cereals nut-free?
Can I use mini marshmallows?
How long do they last?
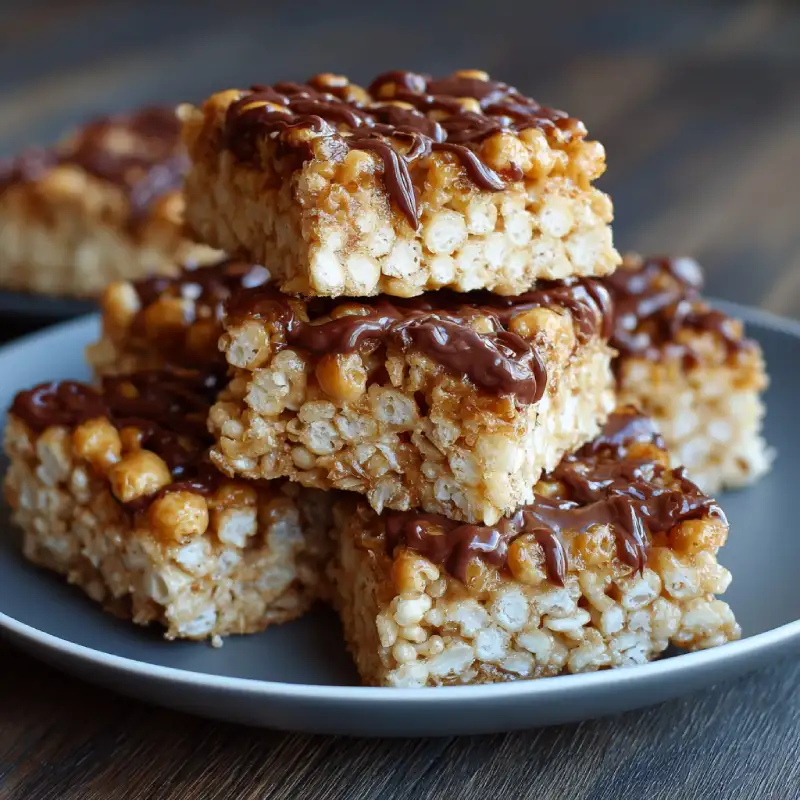
Can I add chocolate chips (nut-free)?
Delicious Nut-Free Rice Krispie Squares
- Total Time: 15 minutes
- Yield: 12 servings
Description
These perfectly chewy and crispy Rice Krispie squares are completely nut-free, offering a safe and sweet treat for everyone. Follow this guide for a quick and easy dessert that’s free from common allergens.
Ingredients
- 6 cups nut-safe Rice Krispies cereal
- 4 tablespoons unsalted butter (or nut-free dairy-free margarine)
- 1 (10-ounce) bag nut-safe marshmallows (about 40 regular or 4 cups mini)
- 1 teaspoon pure vanilla extract
- 1/4 teaspoon fine sea salt
Instructions
- Prepare Pan and Cereal: Grease a 9×13-inch baking pan with butter or cooking spray. Measure 6 cups of Rice Krispies cereal into a large heat-proof bowl.
- Melt Butter and Marshmallows: In a large saucepan over low heat, melt the butter. Add marshmallows; stir constantly until completely smooth.
- Stir in Flavorings: Remove from heat. Stir in vanilla extract and salt until well combined.
- Fold in Cereal: Quickly pour cereal into the marshmallow mixture. Gently fold with a rubber spatula until evenly coated.
- Press and Set: Transfer mixture to the prepared pan. Using a lightly buttered spatula or waxed paper, gently press evenly into the pan. Do not over-compress. Allow to cool completely at room temperature (1-2 hours) before cutting into squares.
- Prep Time: 10 mins
- Cook Time: 5 mins